Rod Holder Installation
OK, you've decided where to put your rod holders, and what type of rod holders will go there. In this segment we'll simply install them.
FLUSH MOUNT ROD HOLDERS: This is certainly the cheapest way to get rod holders on a kayak, but they're probably the hardest to install. OK, maybe the term "hardest" shouldn't be used, since this is far from difficult. It just requires a larger hole in your boat, and that in itself makes it "hard" to get started. The goal is to stick one of these in your kayak.
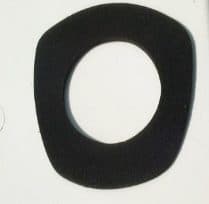
IT'S ALL ABOUT PREPARATION: Once you decide where it/they will go, the hardest part will be marking the place where you'll make the hole for the rod holder to slip in to the kayak. I cheat, in a couple ways. One way is to buy rod holders that have a gasket on them. Those from Hook1 and Crack Of Dawn both come with gaskets, which can also be used as a template to cut the hole out.
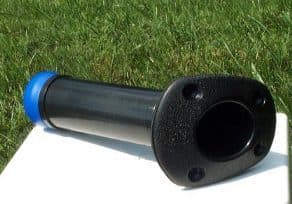
The most common place to install flush mount rod holders is behind the cockpit. The hardest part here is deciding what sort of angle you want to put on them, and then making sure the angle is the same on both sides. Once you determine that, use a marker and, well, mark 'em.
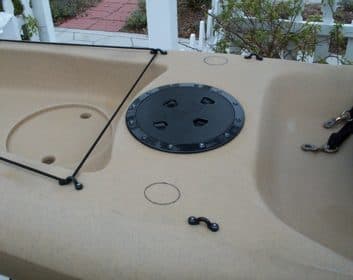
If you'd rather not leave it up to guesswork, there's another way to determine where the holes should be. The other way I cheat is by using a piece of 1 1/2" PVC, cut at a 30 degree angle. This gives you a better idea of how the rod will actually rest in the rod holder.
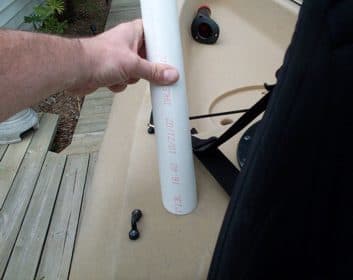
Pretty slick, huh?
~Fishing Kayaks from Hoodoo Sports~
Looking for a high quality fishing kayak at a reasonable price? Check out Hoodoo's lineup featuring the new dual-drive Impulse.
IT'S TIME: OK, since you measured at LEAST twice, it's time to make your hole. Drill a hole in the center of the marked area, and then use a jigsaw to make the oblong hole - it's that simple. Once you've made the holes you know you'll have to test fit the rod holders.
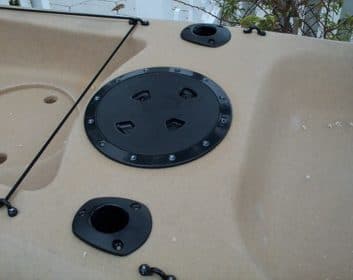
If your rod holders have a gasket, you're ready to drill the holes for the rivets, and proceed with the installation. If your rod holders don't have a gasket, you'll want to use a sealant such as Lexcel around the base before you secure the rod holder.
You'll notice that the rod holders can rotate a bit inside the opening, so once again you'll need to verify that they're pointing where you want them to. And yes, that means making sure they're facing the right way (don't ask me how I know). Once that's done, drill the holes for the rivets and complete the installation.
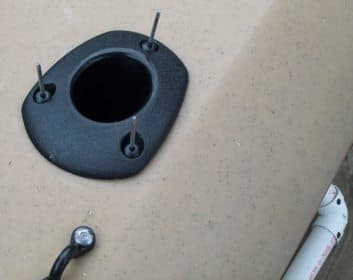
OK, stand back and admire your handiwork !
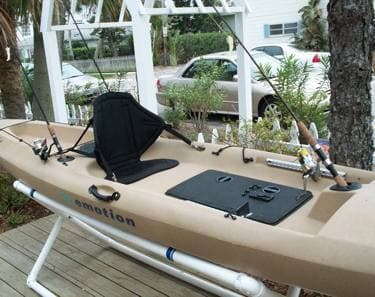
SCOTTY ROD HOLDERS, COVERING THE BASES:
Scotty now offers 3 bases for their rod holders. The 2 on the back are flush mount (2" x 4" base and 4" round base), and the one in the front is a deck mount (2" x 4" base).
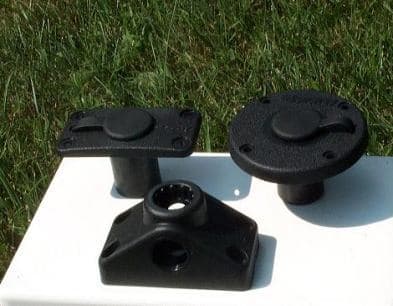
The deck mount base only requires 4 holes to be drilled. However, this base is only a good selection if, A) you can get below the base (inside the kayak) to put nuts on to the screws, and B) you don't mind the base sticking up from your kayak. I'm a big fan of the flush mount bases since they can be installed using rivets and they don't get in the way when transporting the kayak.
INSTALLING THE SCOTTY FLUSH MOUNT BASE: Make sure you're installing the rod holder in an area that's large enough and flat enough to accommodate the base. The easiest way to determine this is to simply turn the base over and see if it appears it will lay flat. While you've got it there, get that marker and draw a circle using the rod holder tube.
Now, use some of that geometry you learned in the 8th grade and determine the center of that circle - mark it. If you're like me, you can probably eyeball it easier. Once that's done, use either a 1 3/8" hole saw to make your hole, or use a jigsaw.
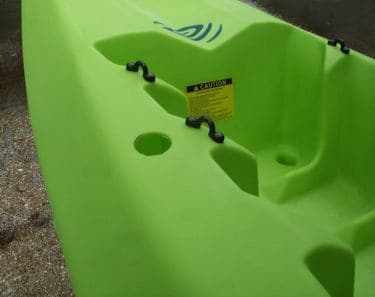
Save the "hole" you just made, you'll need it. I use it to seal the bottom of my mounting bracket. Just use Lexcel and glue it to the bottom of the tube, making it watertight. Seal that pilot hole too.
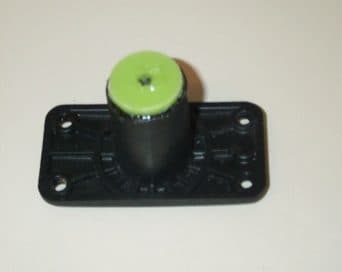
Once this is dry, simply put a bead of Lexcel around the base and place it in that gaping hole in your boat.
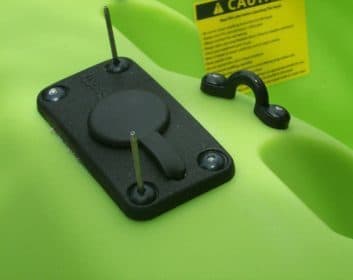
Drill the holes for your rivets, and install. You're done !
CELEBRATE: At this time you'll need to walk around the kayak to make sure it looks good from a distance, and most certainly go put some rods in those new rod holders.
This is only the beginning, I promise you. Now that you've proven yourself with power tools, a rivet gun, and some Lexcel, the kayak rigging world is your oyster - crack it open. Don't forget the cocktail sauce.
See you out on the water ...
Related Articles
Learn to make a good DIY stake out pole so you can save some money for other kayak updates!
Learn how to install a fish finder on your fishing kayak without compromising your yak by drilling holes…
I had an opportunity last week to go on a different type of fishing adventure. This trip would be to…
I don't know about you, but I'm ready to get outside! Up until now, old man winter has been pretty kind…
