
How to DIY Kayak Plastic Weld
Kayaking can be a grind. Whether you have a leak or something else to repair, I wanted to take a moment to show you how to fix and repair your kayak.
This is a season to take a break and just repair your kayak anything that needs to be done. You might want to put on anchors, you may want to repair hulls or whatever. This is the best time to do it if you're in the winter. This kayak is the old - 2016 limited edition OB Outback, what we're doing there is a big gash right here on this OB and this is what Weird-Fish is going to repair.
What you need
- Rubbing Alcohol
- JB Weld Plastic - any hardware store auto parts store
- Flex Tape - Walmart
- Heat Gun
- Spoon
Clean up the affected area with some alcohol. All right basically what he's gonna do is he is going to heat up the plastic using a heat gun to see if he can melt that plastic back into place. So far it's coming along pretty good. It may leave a nice scar. Now he is using an electric sander to smooth out the plastic. It is just a lot easier to sand it a little bit and then he's gonna put on epoxy. But before we’re going to give it another touch up with the heat gun. After it's been sanded down clean it up a little bit with water. Now he is on the last phase getting ready now that he sanded it down, cleaned it up and now he's going to put an epoxy on it and then later he's going to use flex tape to the inside as extra leak protection inside the kayak. But if you look at the kayak as it is you can't even see that there was any hole in it there is just a small scar that looks more like a battle wound. Using flex seal, he's going to put it on the inside of the kayak to reinforce the seal. Now that the surface is clean you’ll want to apply the JB Weld Plastic. You can apply it with a piece of cardboard just like a paintbrush. Make sure to make it smooth, smooth like a baby's bottom.
I hope this video helps someone who wants to do a DIY using the JB Plastic Weld and using some Flex Tape. it's an easy job that didn't take more than 20 minutes. Now we just have to wait for it to dry up again and we’ll be ready to hit the water.
Related Articles

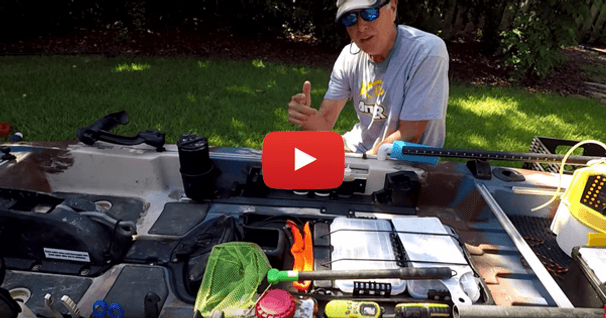
In this video, Chad Hoover shows you how to quickly fix the hull of your fishing kayak. All you need is…

Learn how to install a fish finder on your fishing kayak without compromising your yak by drilling holes…
Check out these easy modifications anyone can do to their own YAK that proves the best fishing kayak…