
Kayak Fishing: Rod Holder Installation
In this video, Jeff Little shows you how to install a rod holder on a fishing kayak.
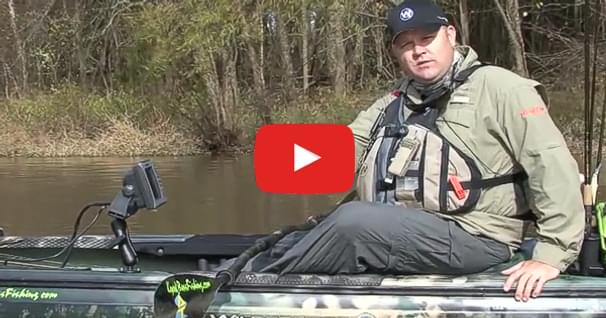
Now, I already have two different kinds of rod holders installed on my Tarpon 140 here. I got two of these flush mount rod holders that are behind me right here and here. I have, well, the RAM ball rod holder that I can put up front, and I got a couple RAM balls in the back. It fits in nicely with the gear track, that you can put a rod holder in all sorts of different positions. So these two I already have on the boat. I'll show you those in a minute.
The two that I'm installing today are ideal for trolling situations, and these are the YakAttack Zooka Tubes. And I'm going to actually install them in front of me so that as I'm trolling, I've got both my rods here that I can reach. As soon as I see that rod load up, I'll have my rods out in front of me and I can see them. Some guys troll with them back behind and they kind of wait to hear the drag. This is a much better place to set up rods for a trolling kayak.
Now, before you install any rod holder, you actually want to get your rod in your hands and sit in the kayak to figure out, hey, can I reach where this is going to go? This is especially important of flush mount rod holders, any rod holders that are going to be behind you. If you can't reach it, you're not going to be happy with the placement. Now, the placement for this Zooka Tube is fairly simple. There's already places ready in this Tarpon 140 for the bases.

~Fishing Kayaks from Hoodoo Sports~
Looking for a high quality fishing kayak at a reasonable price? Check out Hoodoo's lineup featuring the new dual-drive Impulse.
The materials needed for this install are fairly simple. I've got my drill, a bunch of bits, socket set, and this is a actually a ratcheting screwdriver. I've got some silicone here that'll help make sure it's water tight, and a Sharpie marker.
First thing you want to do is to disconnect the stand from the base. Then you'll place the base where you need it. Get your Sharpie marker out, and just mark where each bolt is going to go through your hull. So you definitely get things lined up straight. You go ahead and pull that off and you got where you're going to start drilling holes in your kayak. This is something that tends to freak people out. So just know that if you do drill a hole and it's not in the right spot, that's what the silicone is for. You'll be able to make your kayak watertight again. So don't have that anxiety about it. You do a couple of these installs, you'll get over it, and you'll get the rod holders in the places you need them.
Now, before you start drilling, you want to make sure of one thing: that your hardware matches your drill bit. You actually want your drill bit to be a little bit smaller than the hardware that's going through. So that when you start screwing it in, it's a nice, tight fit.
Now that that's done, we're actually going to get the silicone. And each one of these holes that we've done, we're just going to squirt a little bit around the base, a little bit down in the hole. And that'll be nice and tight. That'll cure nice and tight with the hardware that we're going to put in. I've got my bolts with all my washers on them. We'll go ahead and get that base, put each one in there, and go ahead and drop it down in there.
Now, because it's often a tight fit, I do like to use this ratcheting screwdriver with the Phillips head on it here. That way, I can really put a lot of downward force on it. And it is a tight fit. That's exactly what you want. As soon as that starts poking through, I'll get the washer and the nut on the inside. Make sure that starts biting. Yep, just got it. And I'm going to get my socket in there on the inside, just to finish it off. I repeat that for the remaining four, and then I'm almost done. Nice and tight. Nice secure fit. And just go ahead and pop that in there.
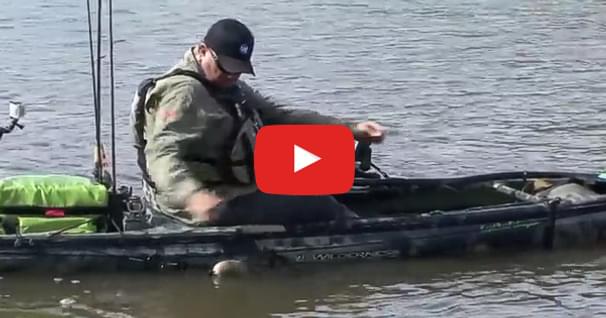
What's nice about this particular one is that I can switch it back and forth, whether I'm using a spinning rod or a bait caster. So I don't have to have individual rod holders for each type of rod. So I'll go ahead and install the lower one. I'll have a nice spread going each way. And I'll be ready to troll come Saturday.
All right. Those two installs are done. And if you can do those, you can certainly install one of these little flush mount rod holders in the back. The RAM ball mounted ones are even easier. You know, you slide a RAM ball into the gear track or anything similar and you have all sorts of different angles that you can have with that.
Now, if after your install is done, you get out on the water and you find that you're banging the rod with your paddle or on your back-swing, you're hitting it with your elbow, or you don't like where it's at, for some reason, with this style, you can certainly uninstall it and just seal it back up with this silicone and start over. The same cannot be said for the flush mounts. At that point, you pretty much have a hole in your boat that you're stuck with, that's where it goes. So be really careful about placement of flush mounts. The other ones, not so much. You can move around and still have a watertight boat.
Related Articles
This alternate depth finder or other types of electronics is not a new concept to Kayak Anglers,…
Let's talk about using your anchor trolley system. Now the reason that I use the word "system" is when…
Hi, Jeff Little here. I'm the regional Pro Staff director for the Wilderness Systems Fishing Team. In…