
Canoe Skid Plate: Why Not To Add One
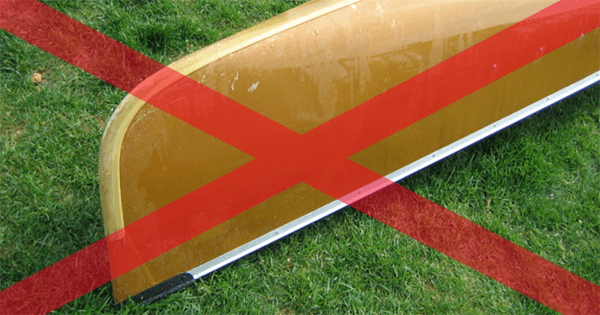
If you want to reduce the value of your canoe by about 200 dollars, put a thick, ugly skid plate on each end! Here’s why you don’t want skid plates!
- They add two or more pounds to a canoe--that’s weight you’ll have carry! Worse, the weight is added to the extreme ends of the canoe, which affects its "swing" weight or ability to gracefully carve turns. The flywheel effect of this is most pronounced in lightweight solo canoes where the paddler is located at the center. But accomplished paddlers in high-performance tandem canoes will notice it too.
- You can't sand Kevlar (it frizzes into string) so the harsh edges of the thick felt pads won't fair in to match the smooth contours of the hull. The result is increased wetted surface which slows the canoe and produces an audible gurgling noise.
- Skid plates are (choose an expletive!) UGLY!
Types of Skid Plates
Still, if you really want skid plates on your canoe, high-end manufacturers like Northstar and We-no-nah will provide them. There are two types:
Internal: invisible, under the first layer of cloth, does not effect the waterline; quiet. Knowledgeable paddlers—who care about beauty and performance—choose these.
External: The standard skid plate kit sold in catalogs and on line:, thick, ugly and noisy-- gurgles annoyingly as the canoe moves through water.
Cliff Jacobson's Take
Installing skid plates BEFORE there is any damage is akin to covering expensive leather car seats with cheap plastic! For two decades, my five Royalex tripping canoes were used on scores of tough rivers in northern Canada. They were lashed to the struts of float planes, shoved into crowded rail cars, dragged like dogs on a leash across the tundra, and paddled, heavily loaded, in long, difficult rapids. With just one exception (a split end that required a fiberglass field patch), duct tape was the only “on-the-river” repair material I ever needed. Later, at home, I used this quick and easy method to effect a permanent repair.
The Fix
MATERIALS YOU NEED
- Boat-building Epoxy (West System, System Three, Ad-Tech, MAS epoxy, etc.). Don’t use ordinary hardware store epoxy.
- Plastic squeegees, inexpensive paint brush, tool cleaning solution.
- 6-ounce (or heavier) fiberglass cloth.
- Optional, for a stronger repair: 5 ounce per square yard Kevlar cloth. Important: you need a special Kevlar scissors (pricey) to cut Kevlar cleanly. Without one, you’ll have a jagged mess! No Kevlar? No matter—fiberglass patches are fine.
PROCEDURE
With Kevlar:
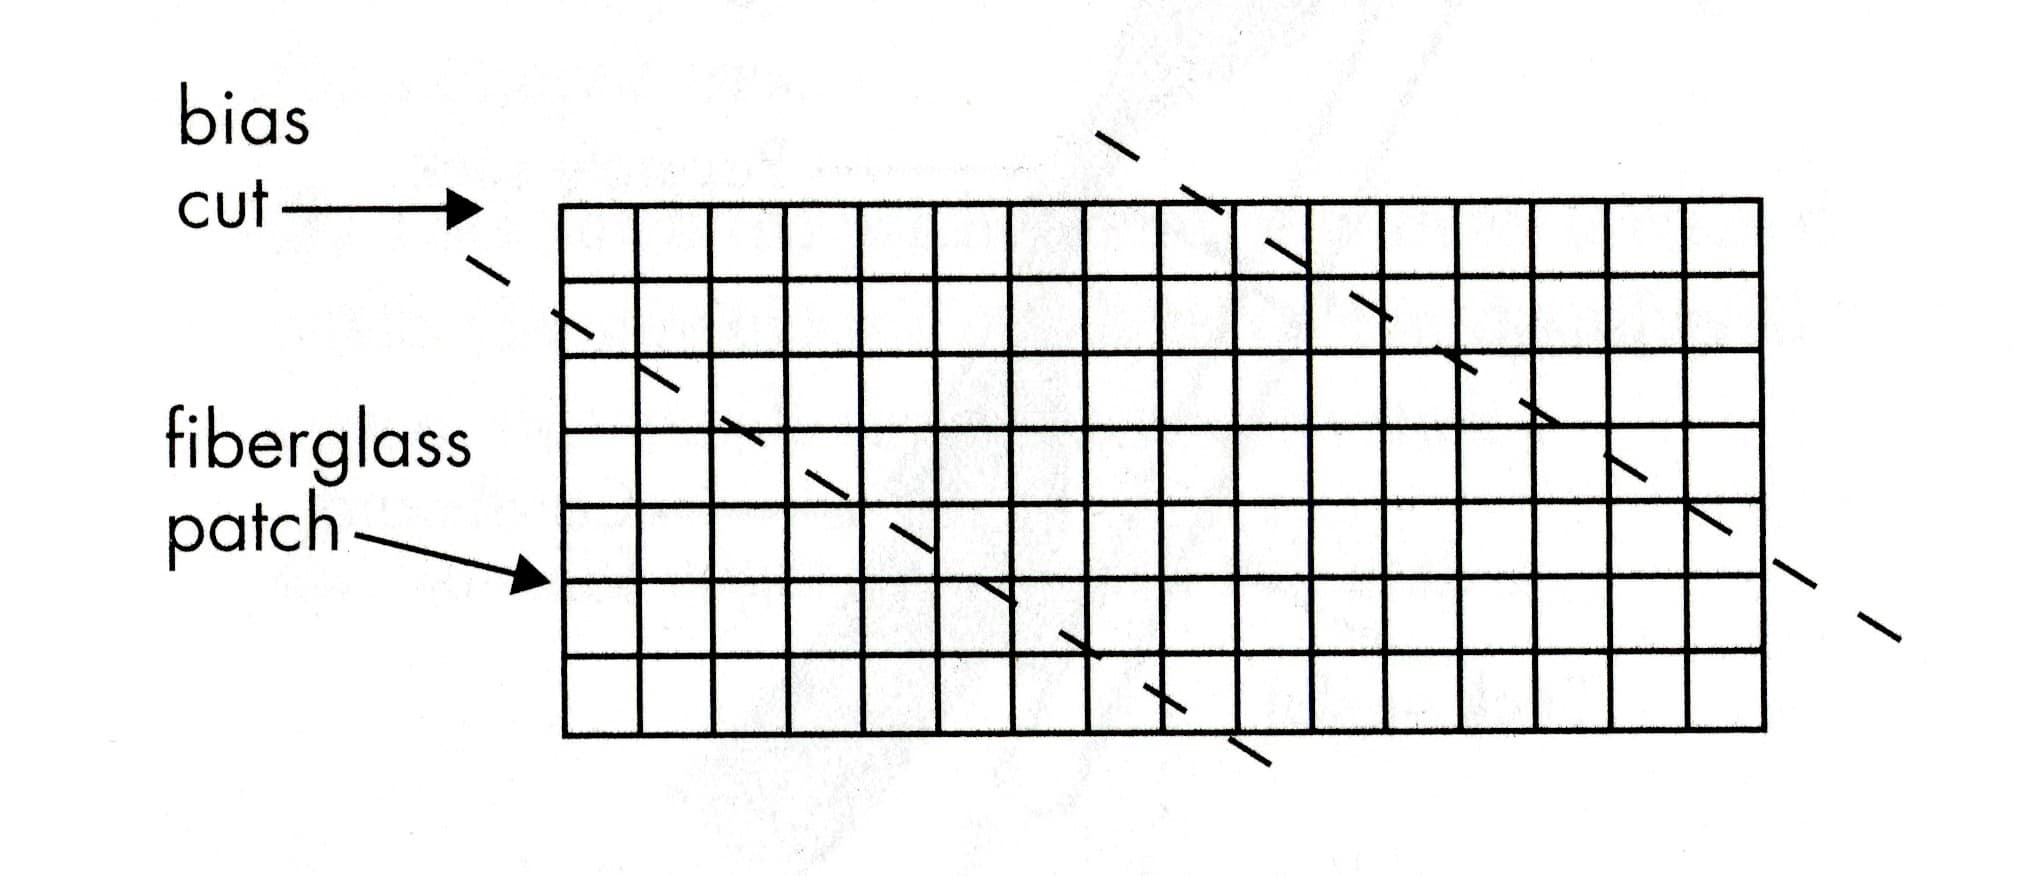
- Rough-sand the damaged area and cover it with two Kevlar patches. Make the top patch slightly larger than the bottom patch. Cut the patches on the bias (45o angle) so they will conform to the curve of the stem. (Figure 1). The patches should be larger than the damaged area, all around.
- Place an over-size fiberglass "cover patch” (cut on the bias) over the two Kevlar patches. Saturate the patches with epoxy resin (a plastic squeegee works better than a brush). When the repair has hardened, fair the edges of the outer fiberglass cover patch (don’t sand into the Kevlar!) then very lightly sand the surface of the fiberglass patch. Spray-paint to match the color of the hull. Later, apply 303® Protectant as a UV barrier.
In time, the fiberglass cover patch will abrade and expose the fuzzy Kevlar beneath. When this happens, sand the fiberglass patch to just expose the fuzzy Kevlar below, then epoxy on a new fiberglass patch. When the patches are hard, sand and paint them as described above.
With Fiberglass: Same procedure as above except use three fiberglass patches—no need for an over-sized cover patch.
Unlike ugly external skid plates, this repair is nearly invisible and it won’t lower the value of your canoe.
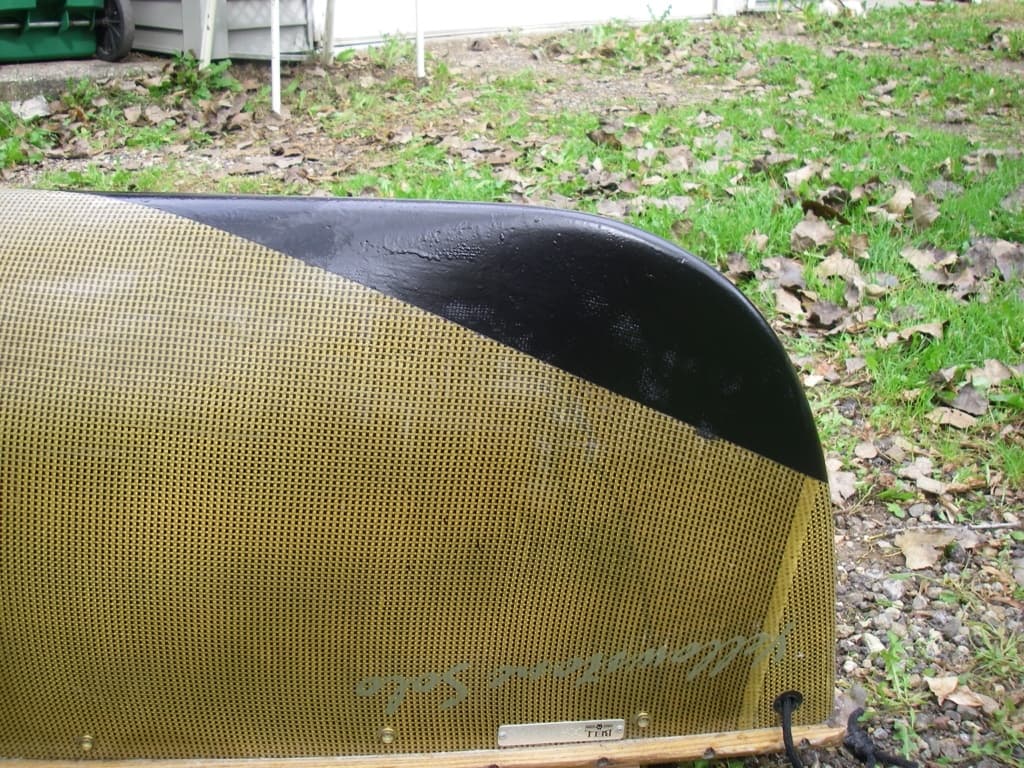
Tip: if you can’t match the color of your boat, mask an artificial water-line a few inches along the stem(s) (figure 2). Spray-paint the masked section with a contrasting color. Onlookers will think it’s a custom paint job.
Related Articles

It was mid-April, circa 2002. There were still patches of snow in the forest. It was one of those days…

In this video you will learn how to reseal a hole or leak in any inflatable stand up paddleboard- from…

Watch Jimmy Blakeney explain proper care and maintenance for and Inflatable Standup Paddleboard. From…
Adhering to the fundamental safety rule that a lifejacket should always be worn when out on the…